Set Up Your GFiber Wi-Fi 6E Router
Depending on your home setup, you'll either use a self-install kit or get a professional installation during signup:
- Self-install: We ship a kit to your door, or you can pick one up at select GFiber locations when you place your order.
- Professional installation: A technician installs your equipment for you.
Follow the steps below to self-install your GFiber Wi-Fi 6E Router.
Quick Setup Guide

To install your GFiber Wi-Fi 6E Router (GR6EXX0C):
- Power on your Fiber Jack.
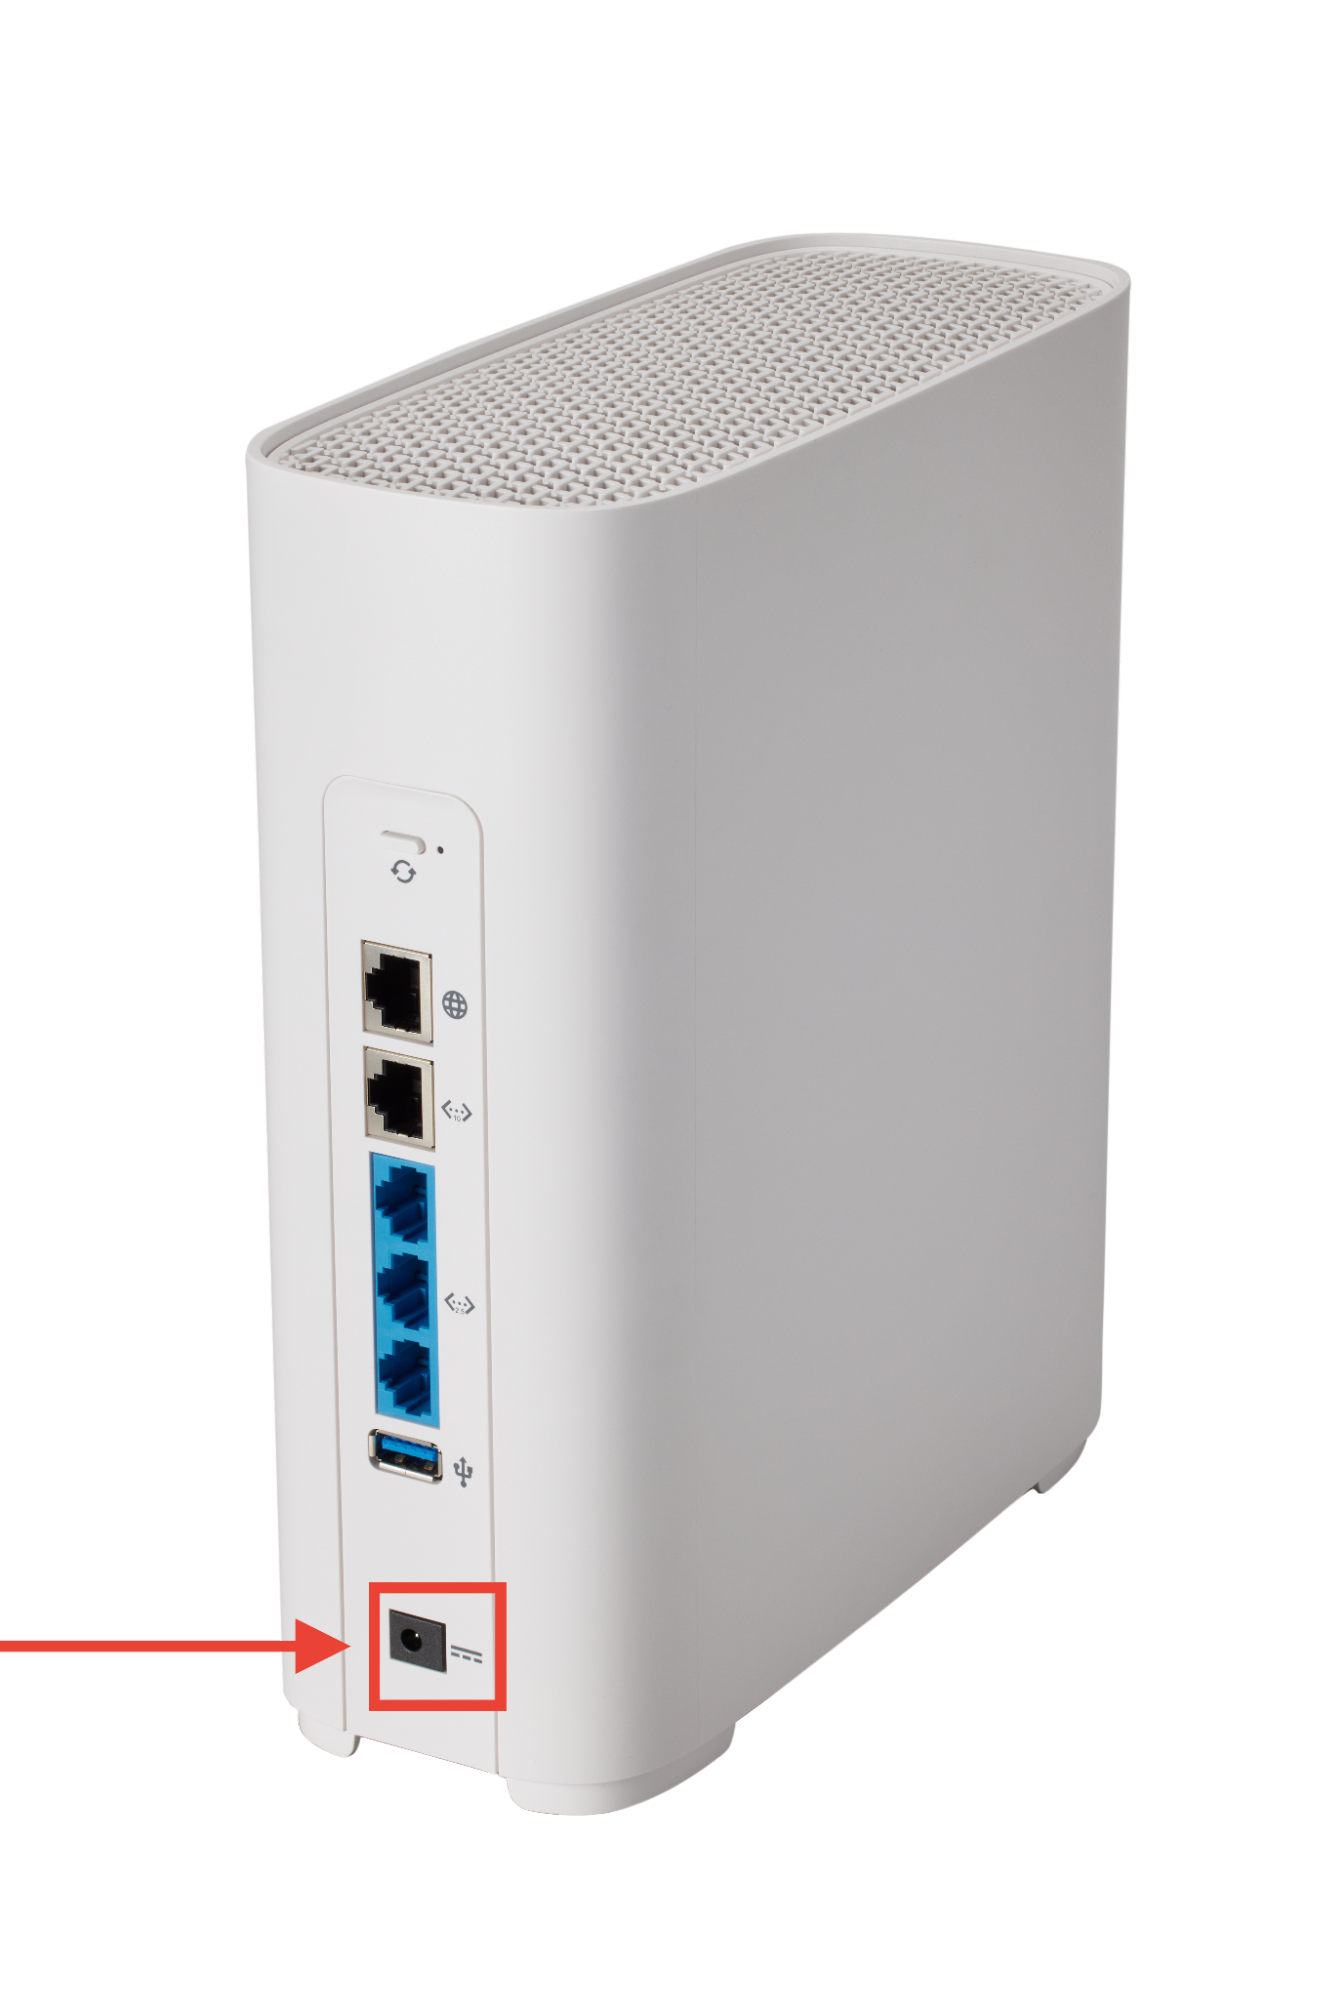
- Connect the Fiber Jack to your router’s silver WAN port (globe icon) with an Ethernet cable.
- Turn on your router.
- Set your Wi-Fi name and password in the GFiber App.
 Seeing a yellow Wi-Fi light? Finish setting up your network name and password in the GFiber App to get connected.
Total setup time: about 10–15 minutes.
What’s in Your Self-Install Kit
-
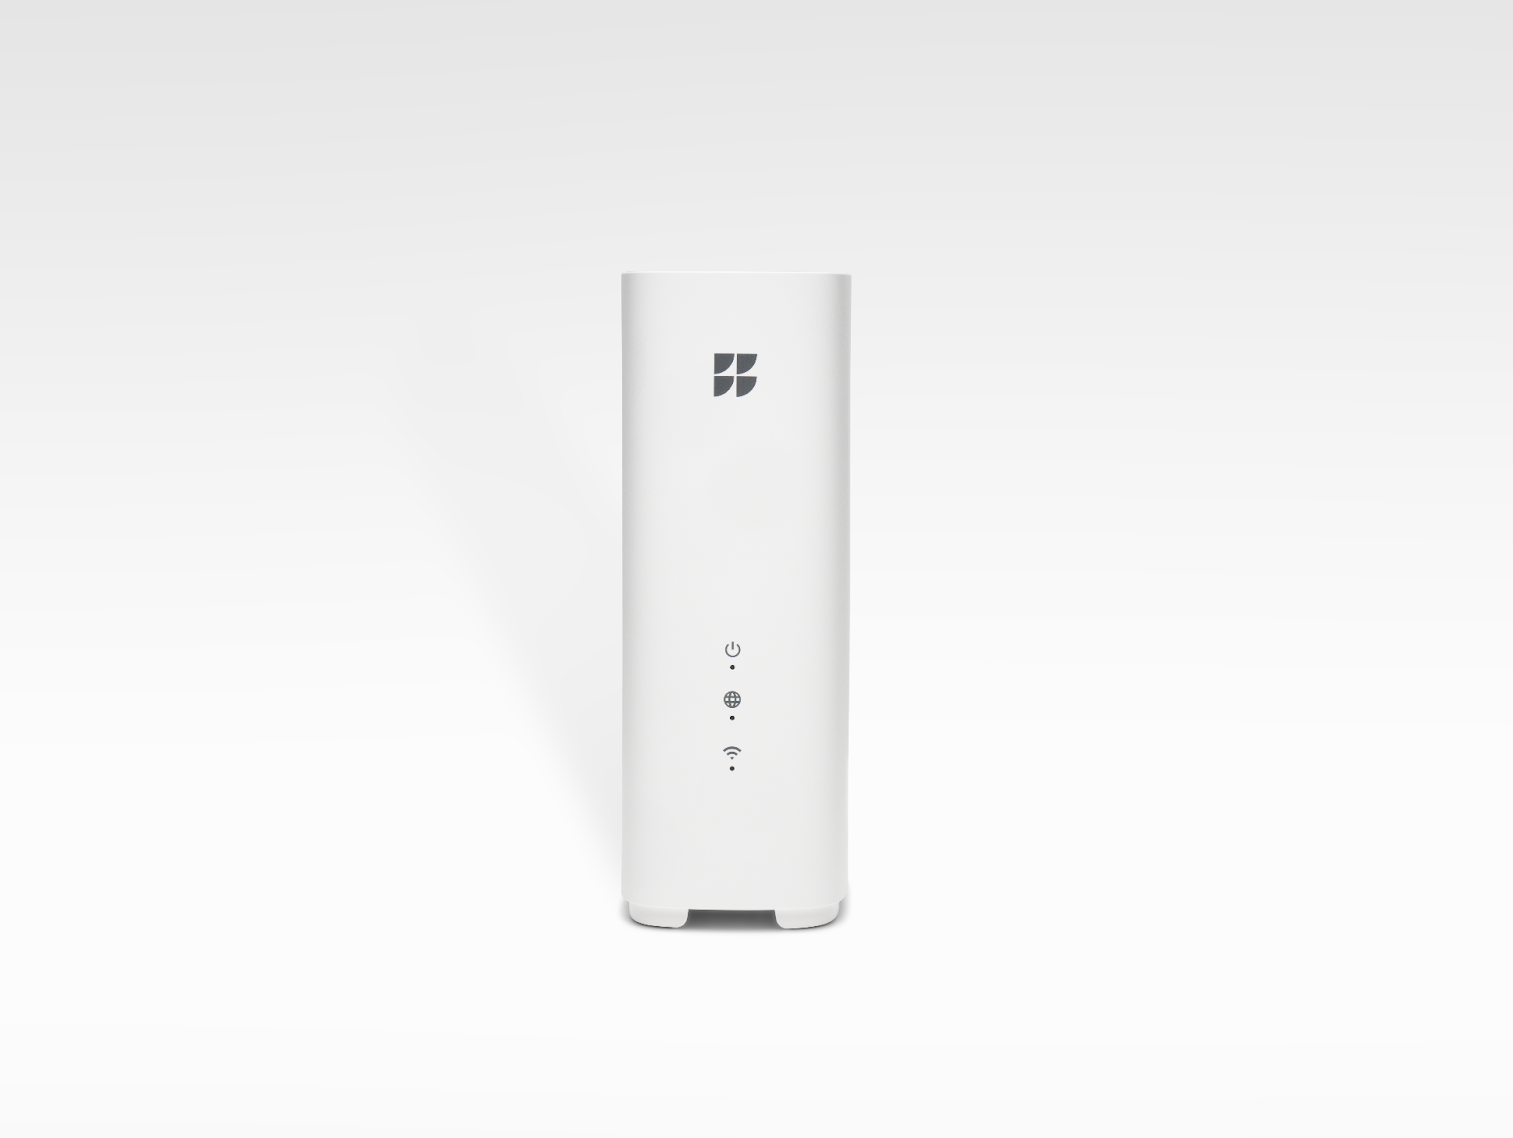
Wi-Fi 6E Router (Model GR6EXX0C)
-
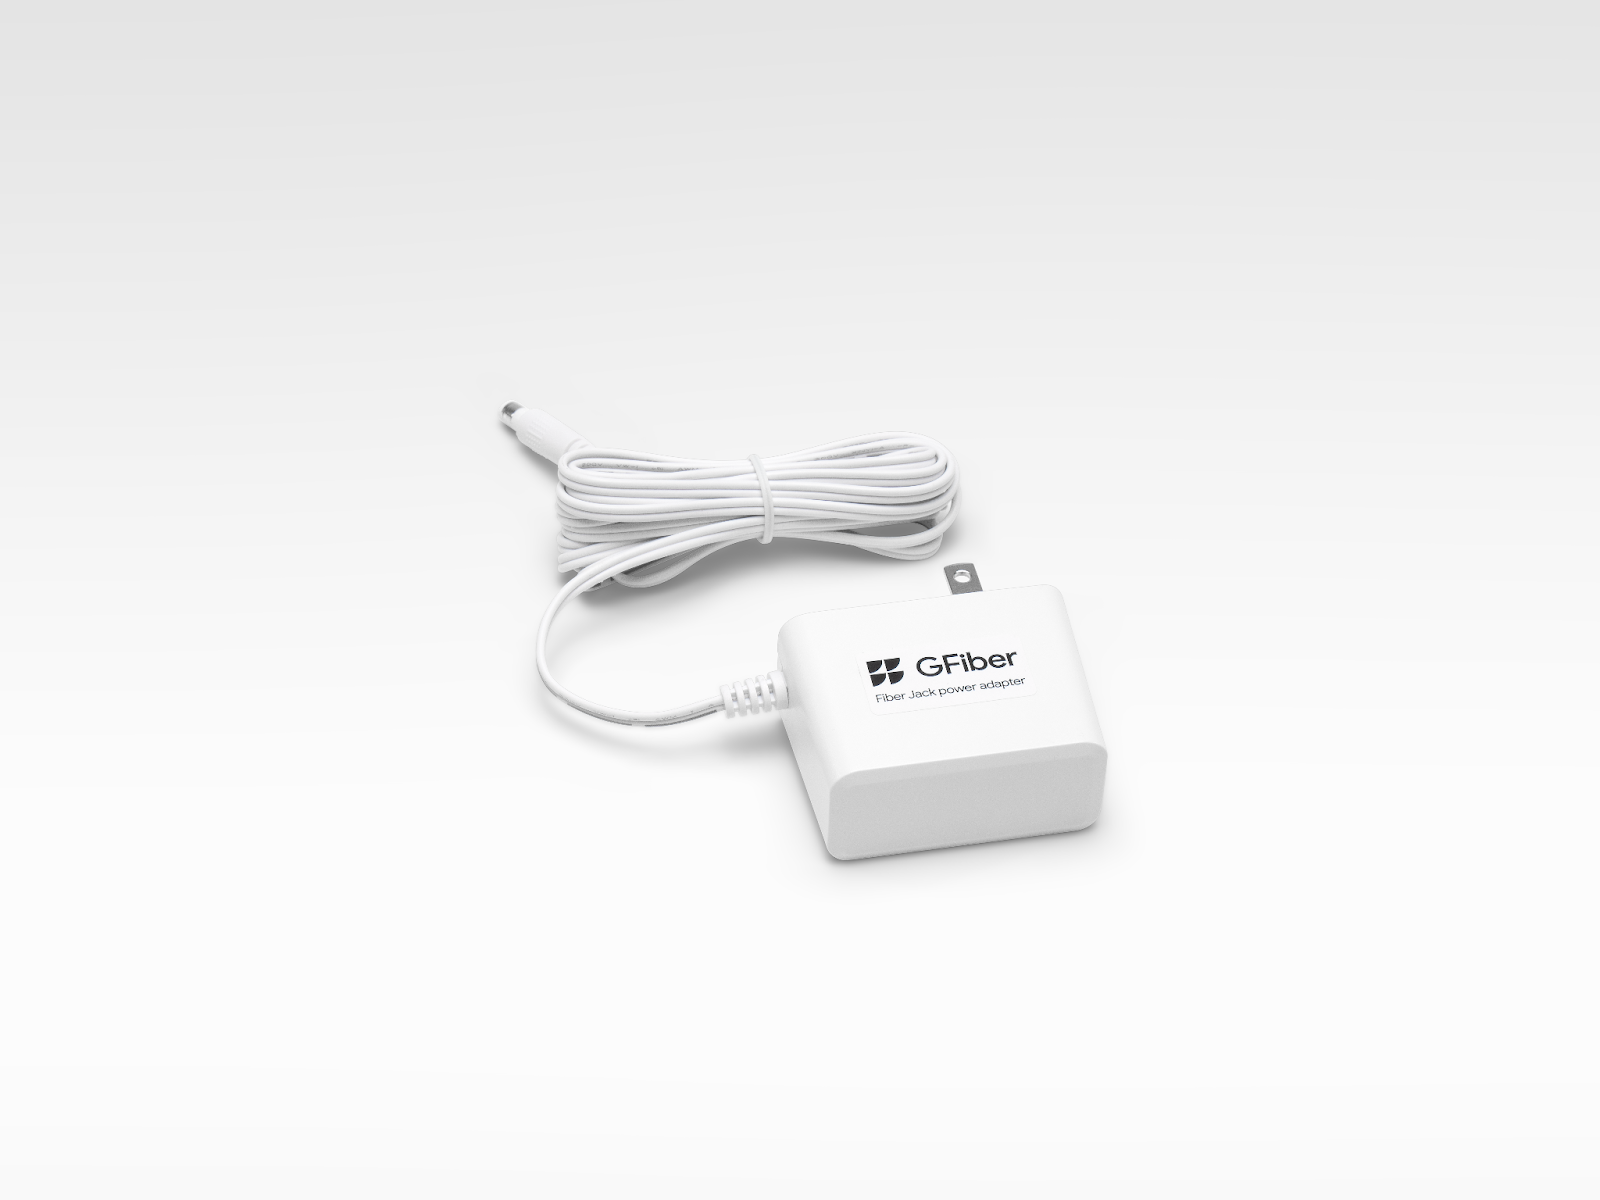
2 power adapters (one for the router, one for the Fiber Jack)
-
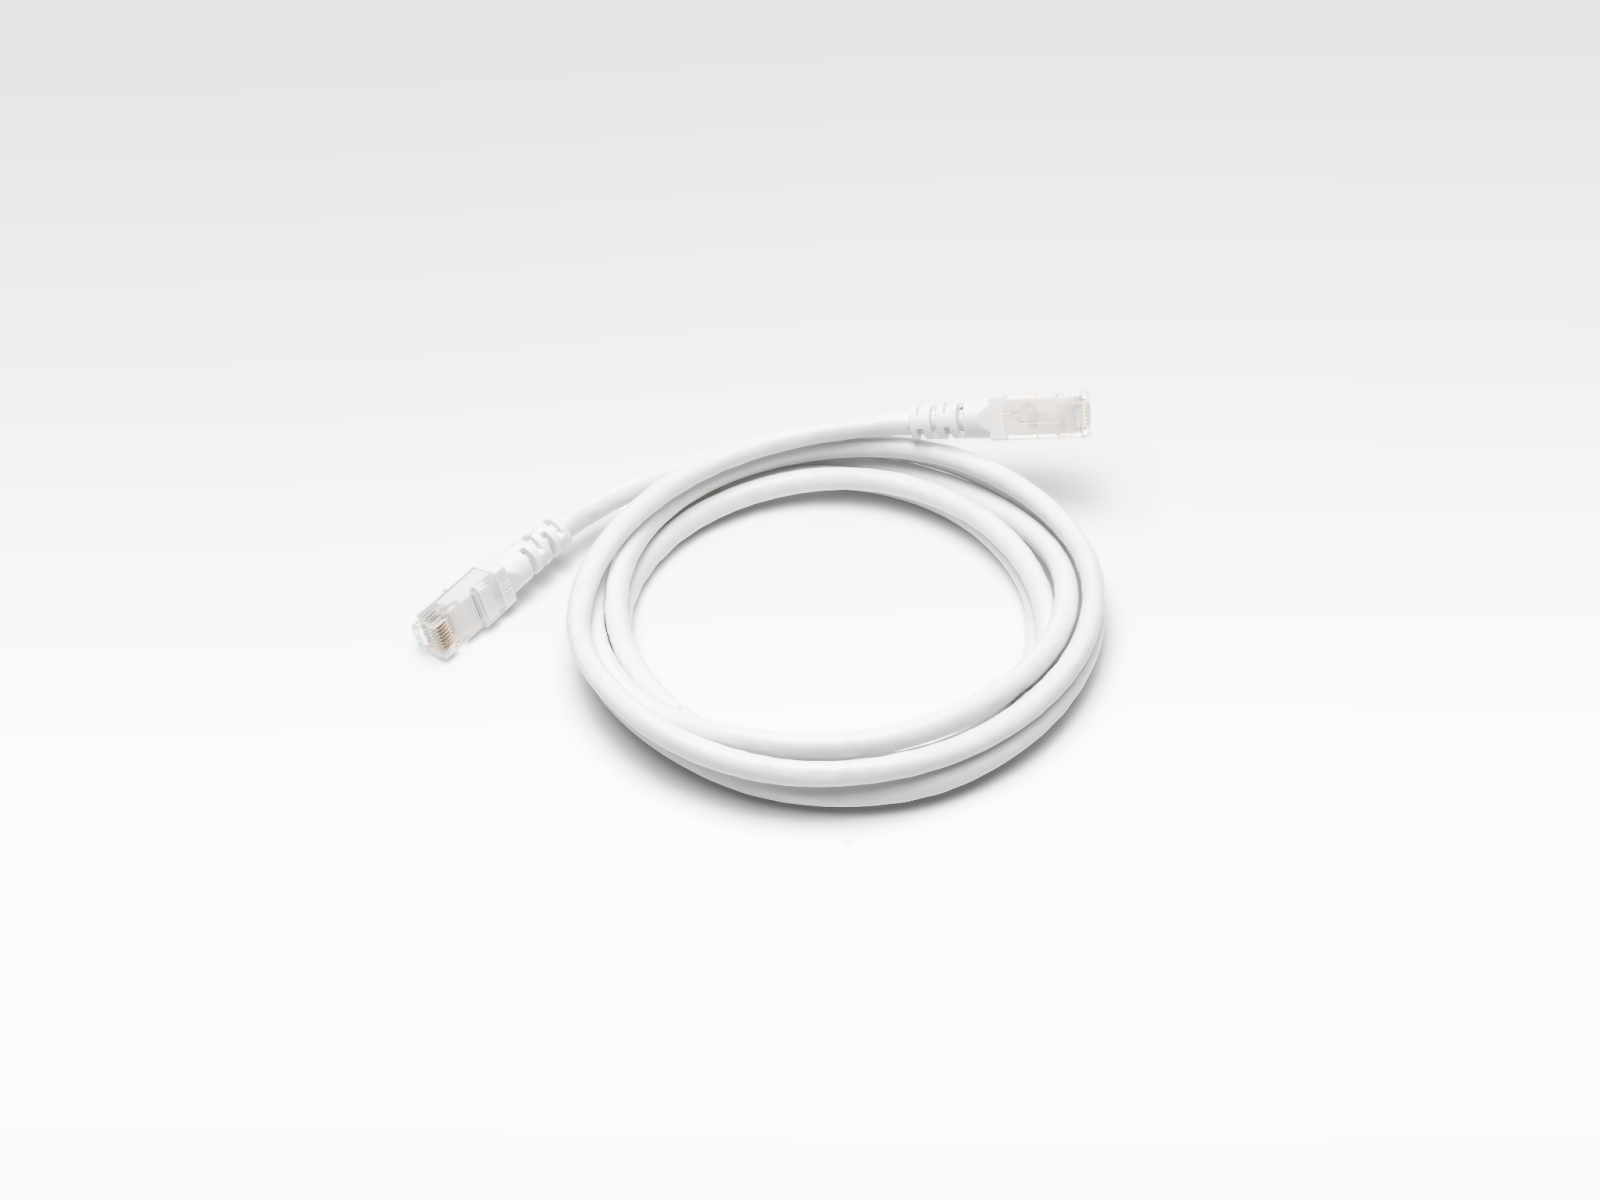
1 Ethernet cable
-
Mesh Extender(s) (optional)
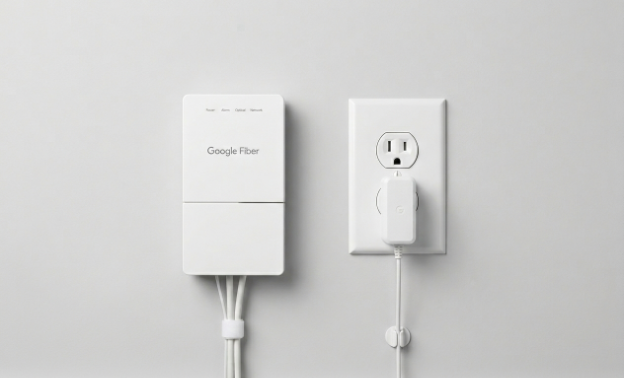
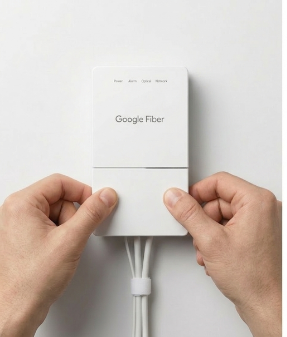
Step 1: Find the Fiber Jack
Your Fiber Jack is the small white box that connects your home to the internet. A technician may have installed this during your original appointment, or it could have been left there by a previous homeowner or tenant. Look for it on a wall, usually where the fiber line first enters your house through your NIU.
Check these common spots:
- Mounted on a wall in a central area or utility closet.
- Hidden inside a plastic media panel in a bedroom closet or behind the front door.
- Connected to an old router with an Ethernet cable.
There are two Fiber Jack models:
- Single-light model (blue lights)
- Four-light model (green lights)
Prefer to watch a video? See how to find your Fiber Jack.
If you still can't locate it, contact us.
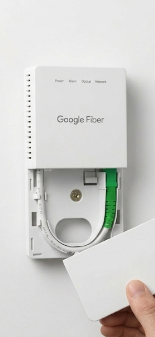
Step 2: Connect the Fiber Jack to Power
To connect your Fiber Jack to power, follow these steps:
-
Remove the bottom cover of the Fiber Jack by placing your fingers in the side dents and gently pulling.
-
Check if the Fiber Jack is plugged in. If it is not, connect the power adapter from your self-install kit and plug it into a wall outlet.
-
The Power light should start blinking. If it does not, press the Power button on the inside left side of the Fiber Jack.
-
Wait for the light to turn a solid color before moving on.
Having trouble connecting? See our Fiber Jack troubleshooting guide.
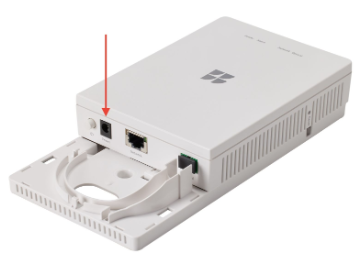
Step 3: Connect the Fiber Jack to Your Router
-
Plug one end of the Ethernet cable into the Ethernet port on your Fiber Jack.
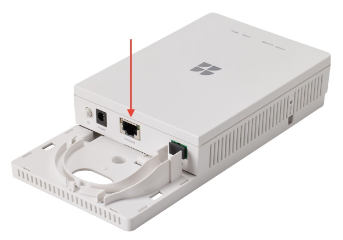
-
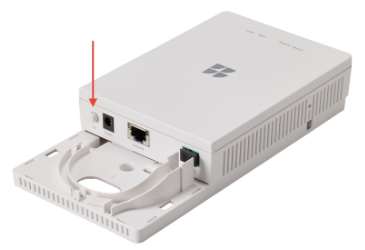
Plug the other end into the silver WAN port (globe icon) on your GFiber Wi-Fi 6E Router
-
Connect the router’s power adapter to a wall outlet.
-
The light on the router may flash yellow or green while it connects. It will turn solid green once you’re online.
-
Slide the bottom cover of the Fiber Jack back into place.
You can do this in the GFiber App or your online account.
Using the GFiber Mobile App
- Sign in to the GFiber App.
- Tap Network at the bottom.
- Tap Network settings.
- Tap Primary network settings.
- If the Primary network Wi-Fi is set to Off, switch it to On.
- Update your Network name.
- Set a primary network password.
- Tap Save.
Using the GFiber Online Account Portal
- Sign in to your GFiber Account.
- Select Network at the top-left corner.
- Click the Edit network button.
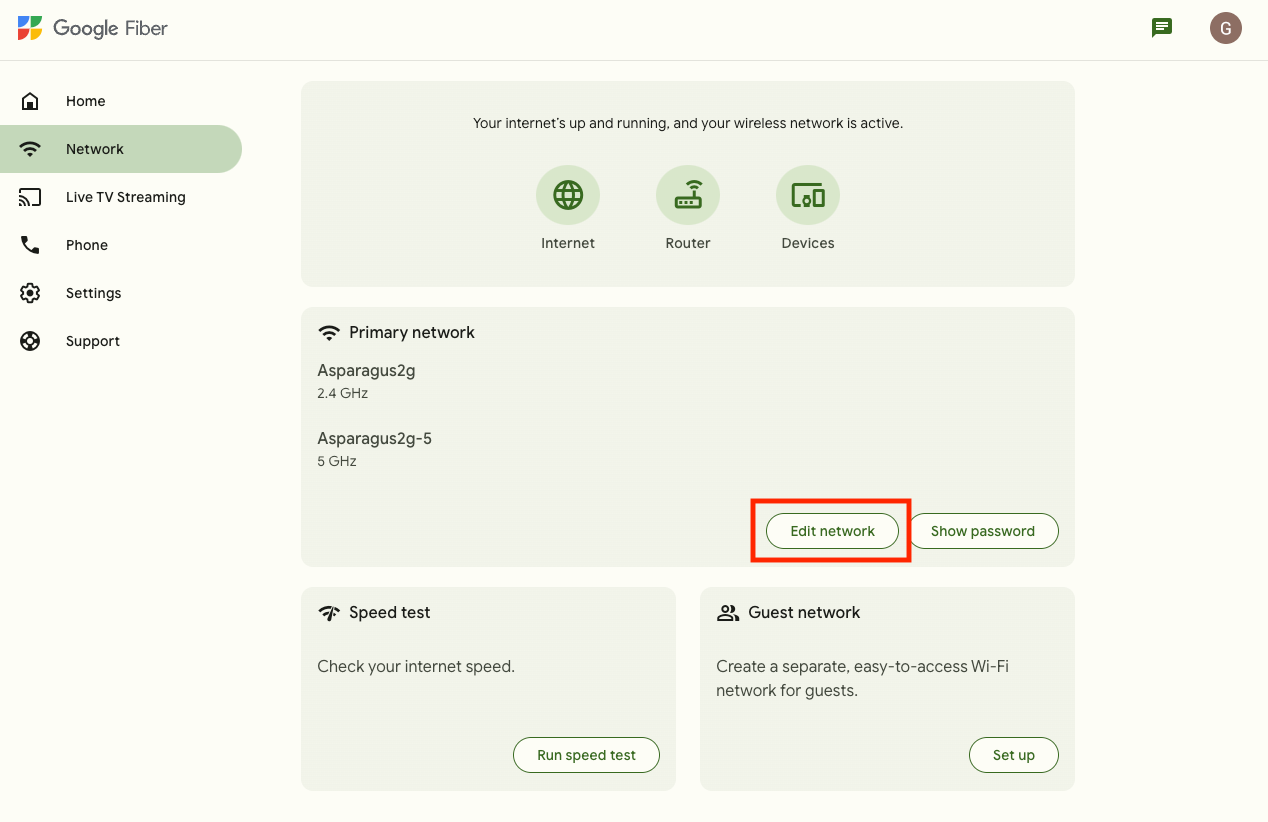
-
If the Wi-Fi network is set to Off, switch it to On.
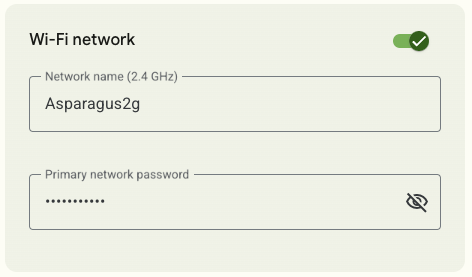
- Set a Network name.
- Set a Primary network password.
- Click Save.
A mesh extender helps your Wi-Fi reach every corner of your home.
- Start by setting up the extender close to your router — you can move it later.
- Follow the steps in our Mesh Extender setup guide.
- Once paired, move the extender about halfway between your router and the area where you need more coverage.
Router Light Status Guide
Light | Symbol | Meaning | Action |
Solid Green |
| Connected | You’re all set! |
Solid Yellow |
| Wi-Fi is turned off | |
Solid Red |
| No internet connection | Check your cables and reboot by pressing the Power button. |
Blinking Red |
| Factory reset in progress | Don’t unplug — wait for it to finish. |
FAQs
Your Wi-Fi network name and password haven’t been set up yet. Follow the instructions in step 4 above to get that done.
Your kit typically arrives within 1-3 business days, depending on when the order was placed. We ship self-install kits Monday through Friday, with Saturday delivery available.
Orders placed after Friday at 7 a.m. ship the following Monday.Contact us right away and we'll make it right.
Check these common spots:
- Mounted on a wall in a central area or utility closet
- Hidden inside a plastic "media panel" in a bedroom closet or behind the front door
- Connected to an old router with an Ethernet cable
Still can't find it? Contact us.
- Make sure you’re using the correct Wi-Fi network name and password
- Connect the device to the router with an Ethernet cable
- Restart the device
If only one device is having trouble, you may need to contact that device manufacturer for support.
You can also follow our Wi-Fi troubleshooting guide.
Run a speed test to check your connection. Speeds can vary based on:
- Device age
- Distance from the router
- Interference from walls or other devices
For the best performance, use the 10G LAN port for a wired connection.
Compatible devices can reach wireless speeds up to 1.6 Gbps. For maximum performance, use the 10G LAN port on the back of the router for a wired connection.
Your router automatically connects devices to the best band.
- 2.4 GHz: Best range through walls, but slower speeds.
- 5 GHz: A solid balance of speed and range for most devices.
- 6 GHz: The fastest speeds with the least interference — best for nearby, high-demand devices.
| Feature | Specifications |
|---|---|
| Wi-Fi | Tri-band Wi-Fi 6E (802.11ax): 2.4GHz (4x4) 5GHz (4x4) 6GHz (4x4) |
| Management | Proactive band and client steering GFiber App management Automatic security updates |
| Compatibility | 802.11 ax (Wi-Fi 6, 6E) 802.11 ac (Wi-Fi 5) 802.11 a/b/g/n |
| Memory | 4GB eMMC flash 1GB DDR4 RAM |
| LAN Ports | 1 x 10G Ethernet port 3 x 2.5G Ethernet ports 1 x USB-A port |
| Security | WPA 3 encryption |
| Guest Wi-Fi | Create and manage a separate guest network with the GFiber App |
| Dimensions | H 9.9” x W 3.2” x D 7.8” |
- Unplug the power adapter from your router.
- Wait at least 10 seconds.
- Plug it back in.
- Wait for the Power and Internet lights to turn solid green — this can take up to 5 minutes.
A factory reset clears all your settings and restores the router to its original defaults.
- Make sure your router is plugged in and turned on.
- Find the Reset button on the base of the router.
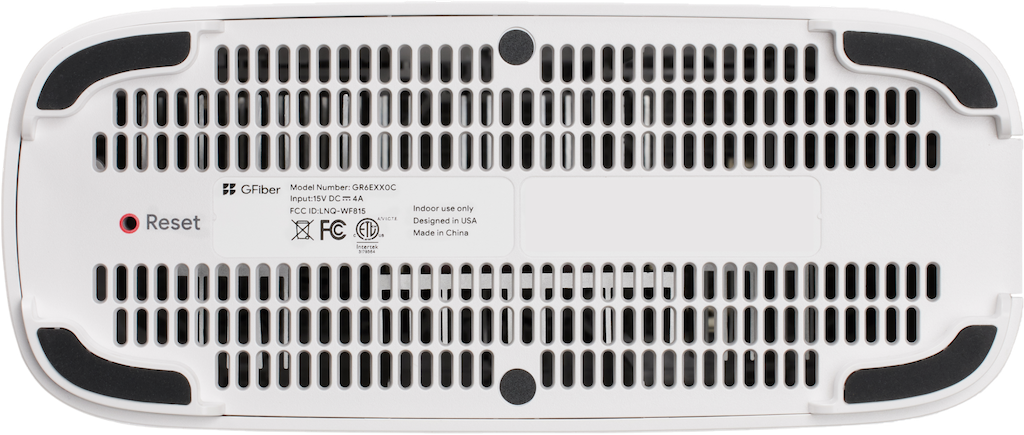
- Use a pen or an unfolded paperclip to press and hold the button for at least 10 seconds.
- When the light on the front starts blinking red, release the button.
- Your router will restart and apply the default settings.
- Wait for the lights to turn solid green before using your internet.